
A broken garage door spring is one of the most common and frustrating issues homeowners face with their garage doors. The springs are responsible for lifting and lowering the door, and if they snap or wear out, the door may not function properly or may become stuck. Replacing a broken garage door spring can be a dangerous task due to the high tension the springs are under. In this article, we’ll guide you through the process of repairing or replacing a broken garage door spring, including safety precautions, tools, and step-by-step instructions.
Types of Garage Door Springs
Before proceeding with the repair, it’s essential to understand the two types of garage door springs, as each requires a slightly different approach:
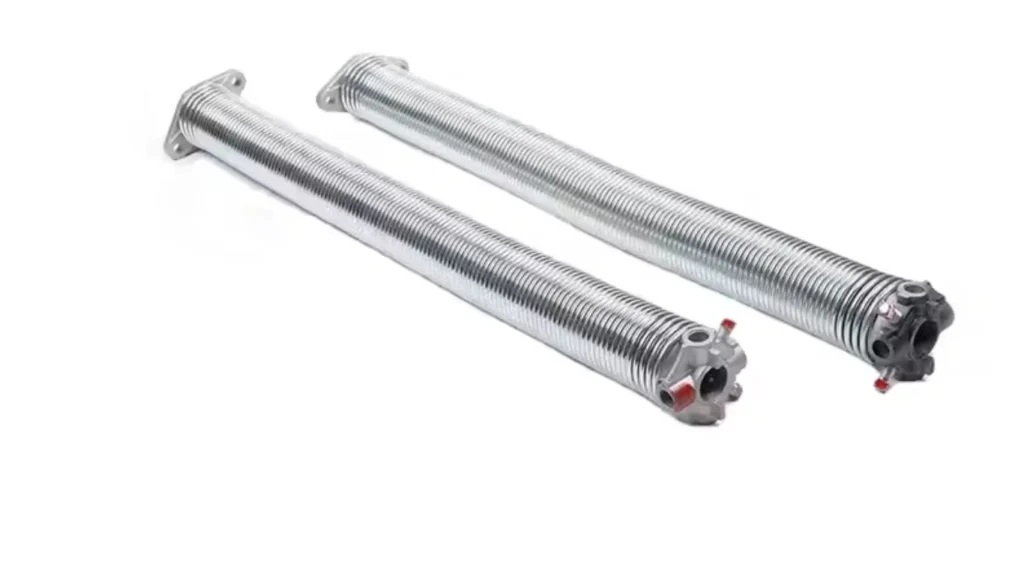
- Torsion Springs: These are typically mounted above the door and are wound tightly. They’re responsible for lifting and lowering the door by creating torque. Torsion springs are under a lot of tension, making them more dangerous to handle.
- Extension Springs: These are typically mounted on either side of the door, above the tracks. They stretch and contract as the door opens and closes. While they’re still dangerous, they’re typically less so than torsion springs.
Signs You Need to Repair a Broken Garage Door Spring
If you’re unsure whether your garage door spring is broken, look for these common signs:
- The door won’t open: The most obvious sign is that the garage door refuses to open. When the spring breaks, the door won’t have the necessary force to lift.
- Uneven door movement: If one side of the door is higher than the other, the spring on that side may be damaged or broken.
- Loud noises: A snapping or popping sound when you try to open or close the door often indicates that a spring has broken.
- The door falls quickly: If the door slams down after being opened, it’s likely that the spring has broken or lost its tension.
Tools You Will Need
Before beginning the repair process, gather the necessary tools. Make sure you have the following:
- Wrench set
- Pliers
- Safety glasses
- Heavy-duty gloves
- Steel rods (for torsion springs)
- Socket and ratchet set
- Step ladder
- New spring (make sure it matches your existing spring)
- Measuring tape
Step-by-Step Guide to Repair a Broken Garage Door Spring
Important Note: Repairing a broken garage door spring is dangerous due to the high tension involved. If you are not comfortable or experienced with handling such repairs, it’s highly recommended to call a professional garage door technician. Improper handling of the springs can cause injury or further damage.
Step 1: Disconnect the Power
Before working on the garage door, make sure to disconnect the power to the garage door opener by unplugging it or turning off the circuit breaker. This ensures that the motor won’t accidentally activate during the repair process.
Step 2: Secure the Garage Door
If the door is raised, use clamps to secure it in place. This prevents the door from falling unexpectedly while you’re working on the springs.
Step 3: Release the Tension on the Broken Spring
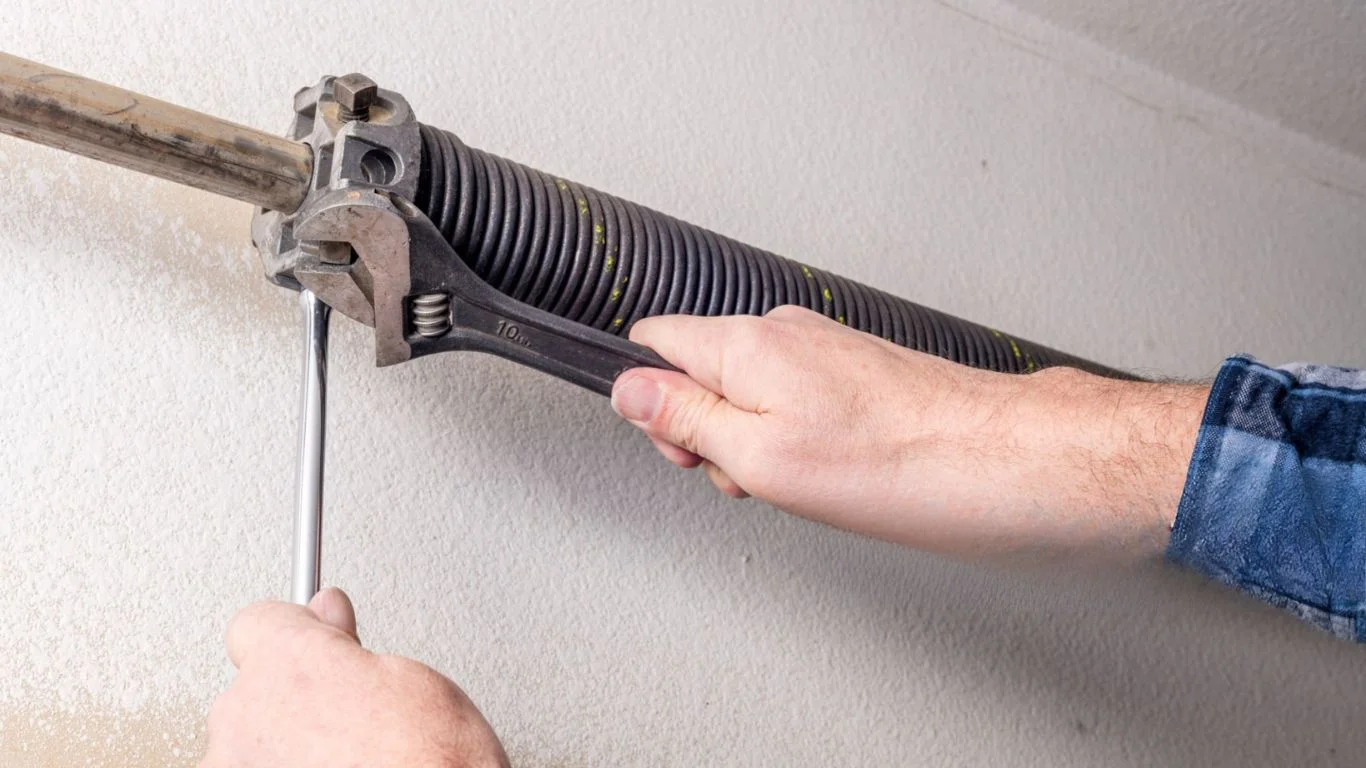
Garage door springs are under high tension, and releasing them too quickly can be dangerous. Begin by using a winding bar or steel rod (for torsion springs) to release tension slowly. For extension springs, remove the safety cables to allow the springs to release their tension safely.
- For torsion springs: Insert the steel rods into the winding cone of the torsion spring. Turn the rods to unwind the spring until the tension is fully released. Be cautious, as the spring is under a lot of force.
- For extension springs: If the spring is still connected to the door, use pliers or a socket wrench to loosen the bolts that secure the spring. Once the tension is released, carefully remove the spring.
Step 4: Remove the Broken Spring
After the tension is released, remove the broken spring from its mounting bracket and the garage door system. For torsion springs, you’ll need to remove the center bracket and the end brackets to fully detach the spring.
Step 5: Install the New Spring
Now that the broken spring is removed, it’s time to install the new one. The new spring should be the same size and strength as the old one, so measure the length and diameter carefully.
- For torsion springs: Position the new spring on the center bracket and secure it with a clamp or bolt. Reattach the spring’s ends to the side brackets. Once the spring is in place, begin winding the new spring using the winding rods to create tension. Be sure to wind the spring in the correct direction—clockwise for right-side springs and counterclockwise for left-side springs.
- For extension springs: Attach the new spring to the pulley and secure it to the mounting bracket. Ensure that the spring is stretched to the proper tension.
Step 6: Check the Spring Tension
After installing the new spring, check the door’s movement to ensure it’s properly balanced. Open and close the door manually a few times to make sure the springs are working correctly and the door operates smoothly.
- For torsion springs: The door should open and close evenly with smooth movement. If the door feels unbalanced, adjust the spring tension accordingly.
- For extension springs: Check that the door opens and closes without resistance or jerking.
Step 7: Reconnect the Power
Once you’ve confirmed the garage door is functioning properly, reconnect the power to the garage door opener. Test the door using the remote or wall switch to ensure everything is working as expected.
Safety Tips for Replacing a Garage Door Spring
- Use the Right Tools: Always use the correct tools designed for garage door repairs. Using the wrong tools can cause injury or damage to the door system.
- Wear Protective Gear: Always wear heavy-duty gloves and safety glasses to protect yourself from sharp parts and debris.
- Don’t Rush: Take your time during the repair process. Rushing can lead to mistakes, which can be dangerous when working with high-tension components.
- Seek Professional Help: If you’re unsure about any part of the repair, or if the door’s system is complex, don’t hesitate to call a professional technician. They have the expertise to handle dangerous repairs safely.
When to Call a Professional
While it’s possible to replace a broken garage door spring yourself, the process is dangerous due to the high tension involved. If you’re not comfortable working with high-tension springs or if you’re dealing with a more complex system, it’s best to call a professional. Professional garage door repair technicians have the experience and tools to handle the repair safely and effectively.
Read More: How to Choose Electric Garage Door Repair Services in Los Angeles
Frequently Ask Questions (FAQs)
Common signs of a broken spring include difficulty opening the door, uneven door movement, loud snapping sounds, or the door falling suddenly.
While it’s possible for experienced DIYers, repairing garage door springs can be dangerous due to the high tension. If unsure, it’s best to call a professional.
The cost to replace a broken spring typically ranges from $150 to $350 depending on the type of spring (torsion or extension) and labor fees.
Garage door springs typically last about 10,000 cycles (opening and closing of the door). This usually equates to about 7 to 10 years, depending on usage.
Do not attempt to open or close the door manually, as it could cause further damage or injury. Secure the door in place and contact a professional for replacement.
Conclusion
Repairing a broken garage door spring is a challenging task that requires careful attention and safety precautions. By following the steps outlined in this guide, you can replace a broken spring and restore your garage door’s functionality. However, if you’re unsure about performing the repair yourself or if you encounter any issues, it’s always wise to call a professional technician to ensure the job is done safely and correctly. Regular maintenance and early detection of spring issues can also help you avoid costly repairs in the future.
Comments are closed