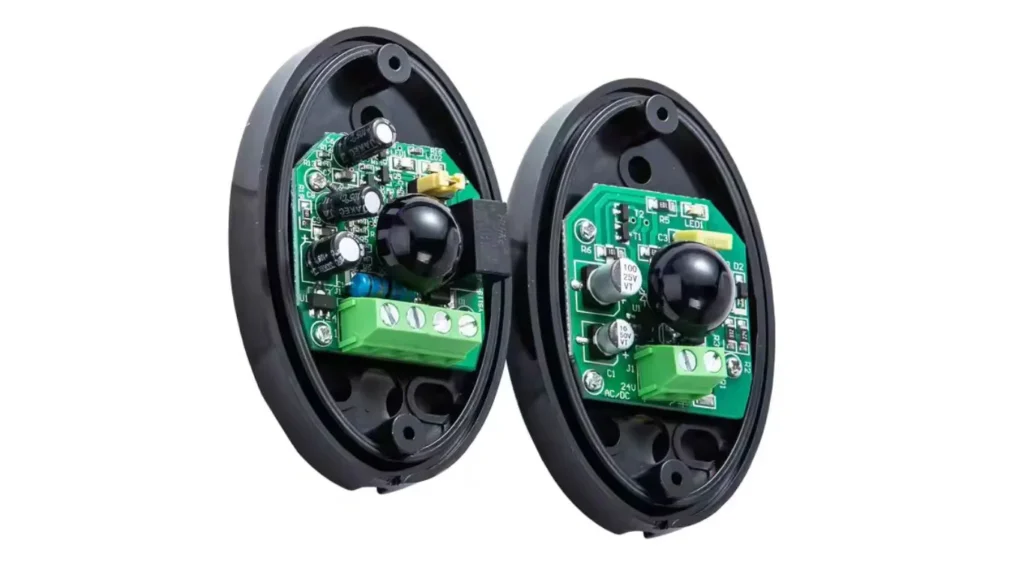
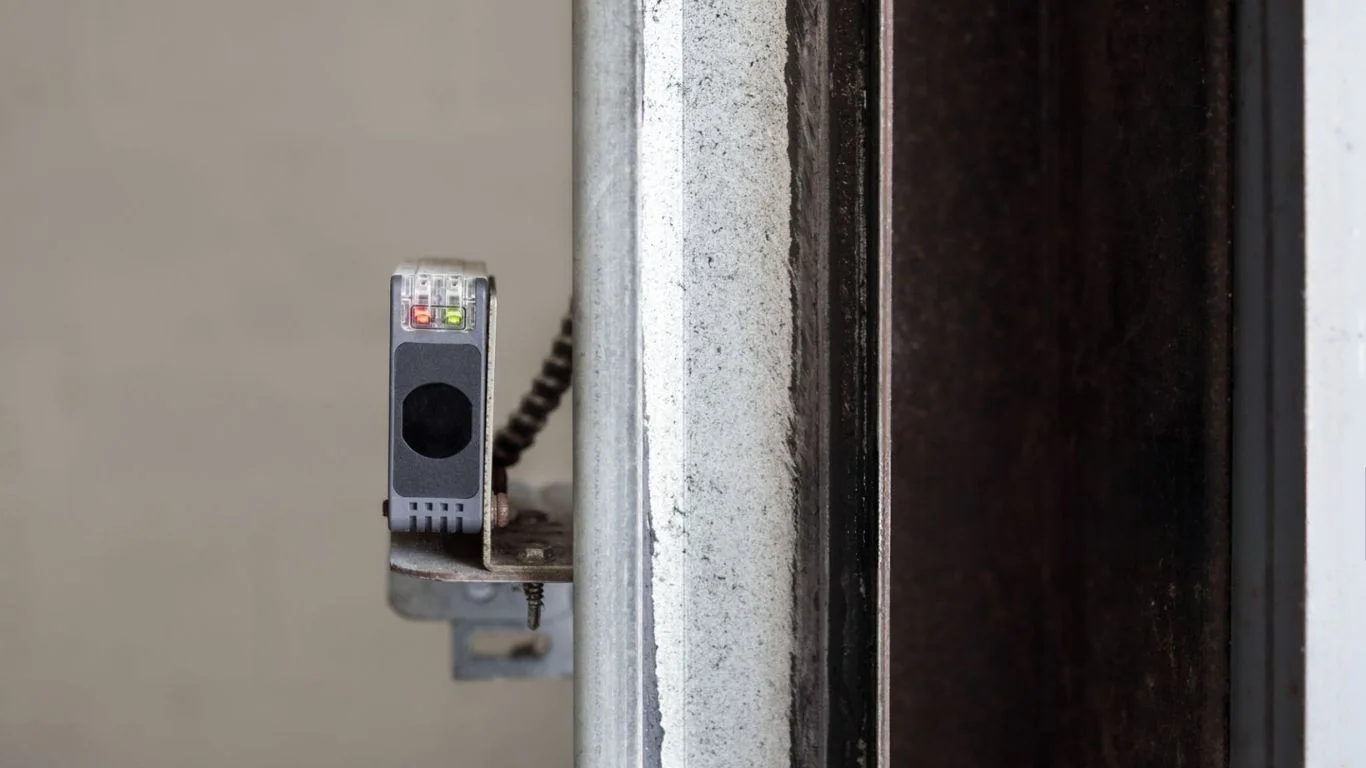
Garage door sensors play a vital role in the smooth and safe operation of your garage door system. These sensors, typically located near the bottom of the garage door tracks, detect any obstacles in the door’s path, ensuring that the door doesn’t close on something or someone. If the sensors malfunction, the door might not close properly or could reverse unexpectedly. Understanding how to repair garage door sensors can save you time and money by addressing minor issues yourself. In this article, we’ll cover how to troubleshoot and repair your garage door sensors, including common problems, tools needed, and step-by-step instructions.
You May Know: How to Choose Electric Garage Door Repair Services in Los Angeles
Common Issues with Garage Door Sensors
Before starting the repair process, it’s important to understand what might be causing the problem. Here are some common issues with garage door sensors:
- Misaligned Sensors: The sensors need to be perfectly aligned to detect obstacles. If they are misaligned, they will not work properly.
- Dirty or Obstructed Sensors: Dust, dirt, or spider webs can block the sensor’s infrared beam, leading to malfunction.
- Wiring Issues: Frayed or disconnected wires can disrupt the power supply to the sensors.
- Damaged Sensors: If the sensors are physically damaged, they may need to be replaced.
- Faulty Sensor Lens: Sometimes, the lens of the sensor may become cracked, dirty, or scratched, which can impair its ability to detect objects.

Tools and Materials You’ll Need
Before beginning your repair, gather the following tools and materials:
- Step ladder
- Screwdriver (if needed)
- Cloth or cotton swab
- Rubbing alcohol
- Level (for sensor alignment)
- Replacement sensors (if needed)
- Wire stripper (if you need to repair wires)
Know About: How to Repair a Garage Door Cable
Step-by-Step Guide to Repairing a Garage Door Sensor
Step 1: Check the Power and Reset the Opener
If your garage door sensors are not working, the first thing to check is whether the opener is receiving power.
- Disconnect the Power: Unplug the garage door opener or turn off the circuit breaker. This will prevent the door from activating while you’re working.
- Reset the System: Sometimes, resetting the system can resolve minor issues. Follow the manufacturer’s instructions to reset the opener. This often involves pressing and holding a “reset” button on the motor unit.
Step 2: Inspect the Sensors for Obstructions
The most common reason for malfunctioning sensors is dirt or debris blocking the sensor’s lens. To clean the sensors:
- Check for Dirt or Obstructions: Look closely at the sensors for any dirt, dust, or spider webs. These can interfere with the infrared beam.
- Clean the Sensors: Use a clean cloth or cotton swab dipped in rubbing alcohol to gently clean the sensor lens. Avoid using harsh chemicals, as they may damage the sensors.
- Clear the Area: Ensure there is nothing obstructing the path between the two sensors, including tools, debris, or even misaligned parts.
Step 3: Check Sensor Alignment
If your sensors are dirty but cleaning doesn’t help, they may be misaligned. Misaligned sensors will cause the garage door to reverse or not close at all. Here’s how to check and realign them:
- Use a Level: Place a level on the sensor housing to ensure that it’s perfectly vertical. Both sensors must be aligned with each other at the same height and angle.
- Adjust the Sensors: If the sensors are misaligned, gently adjust them by loosening the screws holding them in place. Move each sensor horizontally or vertically until both are aligned properly.
- Test the Alignment: Most modern garage door sensors have indicator lights that show whether they’re properly aligned. If the sensors are aligned correctly, the indicator light should be solid green on both sides. If it’s flashing, the sensors are still misaligned.
Step 4: Check the Wiring
If the sensors still don’t work after cleaning and realigning, the issue could be with the wiring. To check:
- Inspect the Wiring: Look for any visible damage or disconnections. Pay special attention to the wires leading to the sensors.
- Tighten Loose Connections: If the wiring is loose, reattach the connections securely.
- Repair Damaged Wires: If the wires are damaged, you’ll need to strip the insulation off the ends, twist the wires together, and insulate them with electrical tape. Be careful not to expose too much wire, as this can lead to shorts.
Step 5: Test the Sensors
Once you’ve cleaned, aligned, and checked the wiring, plug the garage door opener back in and test the system:
- Press the Wall Button or Use the Remote: Try to close the garage door using the wall button or remote.
- Observe the Door’s Response: If the door opens or closes without issues and stops correctly when it hits the ground, the sensors are likely working properly.
- Check for a Flashing Light: Many garage door openers have a flashing light that indicates a sensor issue. If the light flashes after trying to close the door, it means the sensors are still malfunctioning.
Step 6: Replace the Sensors (If Necessary)
If none of the above steps work, the sensors may be damaged beyond repair. Here’s how to replace them:
- Purchase Replacement Sensors: Make sure you purchase sensors that are compatible with your garage door opener.
- Remove the Old Sensors: Use a screwdriver to remove the old sensors from their brackets and disconnect the wiring.
- Install the New Sensors: Mount the new sensors in the same position as the old ones. Connect the wiring securely and check the alignment.
- Test the New Sensors: Follow the same testing process as before to ensure the new sensors are functioning correctly.
When to Call a Professional
If your garage door sensors are still not working after cleaning, realigning, and checking the wiring, it’s time to call a professional. A technician can properly diagnose more complex issues, such as electrical problems or faulty control boards, and ensure your sensors are replaced correctly.
Frequently Ask Questions (FAQ’s)
The most common cause is misaligned or dirty garage door sensors. Check the alignment, clean the sensors, and ensure no obstructions are blocking the path.
If the door is reversing before it fully closes or there is a blinking light on the sensors, they may be misaligned. Use a level to realign the sensors.
Yes, you can repair your garage door sensors by cleaning them, adjusting their alignment, and checking for wiring issues. If the problem persists, a replacement may be necessary.
It’s recommended to clean your garage door sensors at least once every few months to ensure they are free from dirt, dust, or cobwebs that could cause malfunction.
If the sensors are clean, aligned, and wired correctly but still not functioning, you may need to replace them. Contact a professional technician if you’re unsure.
Conclusion
Repairing a garage door sensor is a relatively simple and cost-effective task for homeowners. By following the steps outlined above, you can troubleshoot and resolve issues such as misalignment, obstruction, or wiring problems. However, if the sensors are damaged or the issue persists, don’t hesitate to contact a professional. Regular maintenance, such as cleaning the sensors and checking for obstructions, can also help extend the life of your garage door sensors and keep your system running smoothly.

Comments are closed